Cleaning Up My Power Setup - W220 Project
This is the first blog post (of many) about my W220 project.
What is it? It is a learning opportunity to make my 26-year-old Mercedes-Benz S430 more up to date with the times.
My first project to tackle was to connect my phone to the sound system, which is harder than it sounds because the car doesn't have a line-in jack. It required wiring a 3.5mm cable directly into the tape deck, bypassing the tape pre-amp circuitry to minimize the noise floor and enhance frequency response. It is by far the best way to add an AUX input into pre-2003 D2B models without losing audio quality. (D2B is a somewhat obscure fiber‑optic standard used to connect components of high‑end audio systems in early‑2000s Mercedes) It also allows for something many modern cars don't have, lossless audio input.
Now that that's out of the way, we can move on to the electrical mods. The first one being a 500 watt inverter for 120v inside the car, which supports most lower-powered devices. This currently is utilized by an extension cord going into the cabin, which will soon be replaced with 14 AWG marine grade cabling that is wired into the back of the center console.
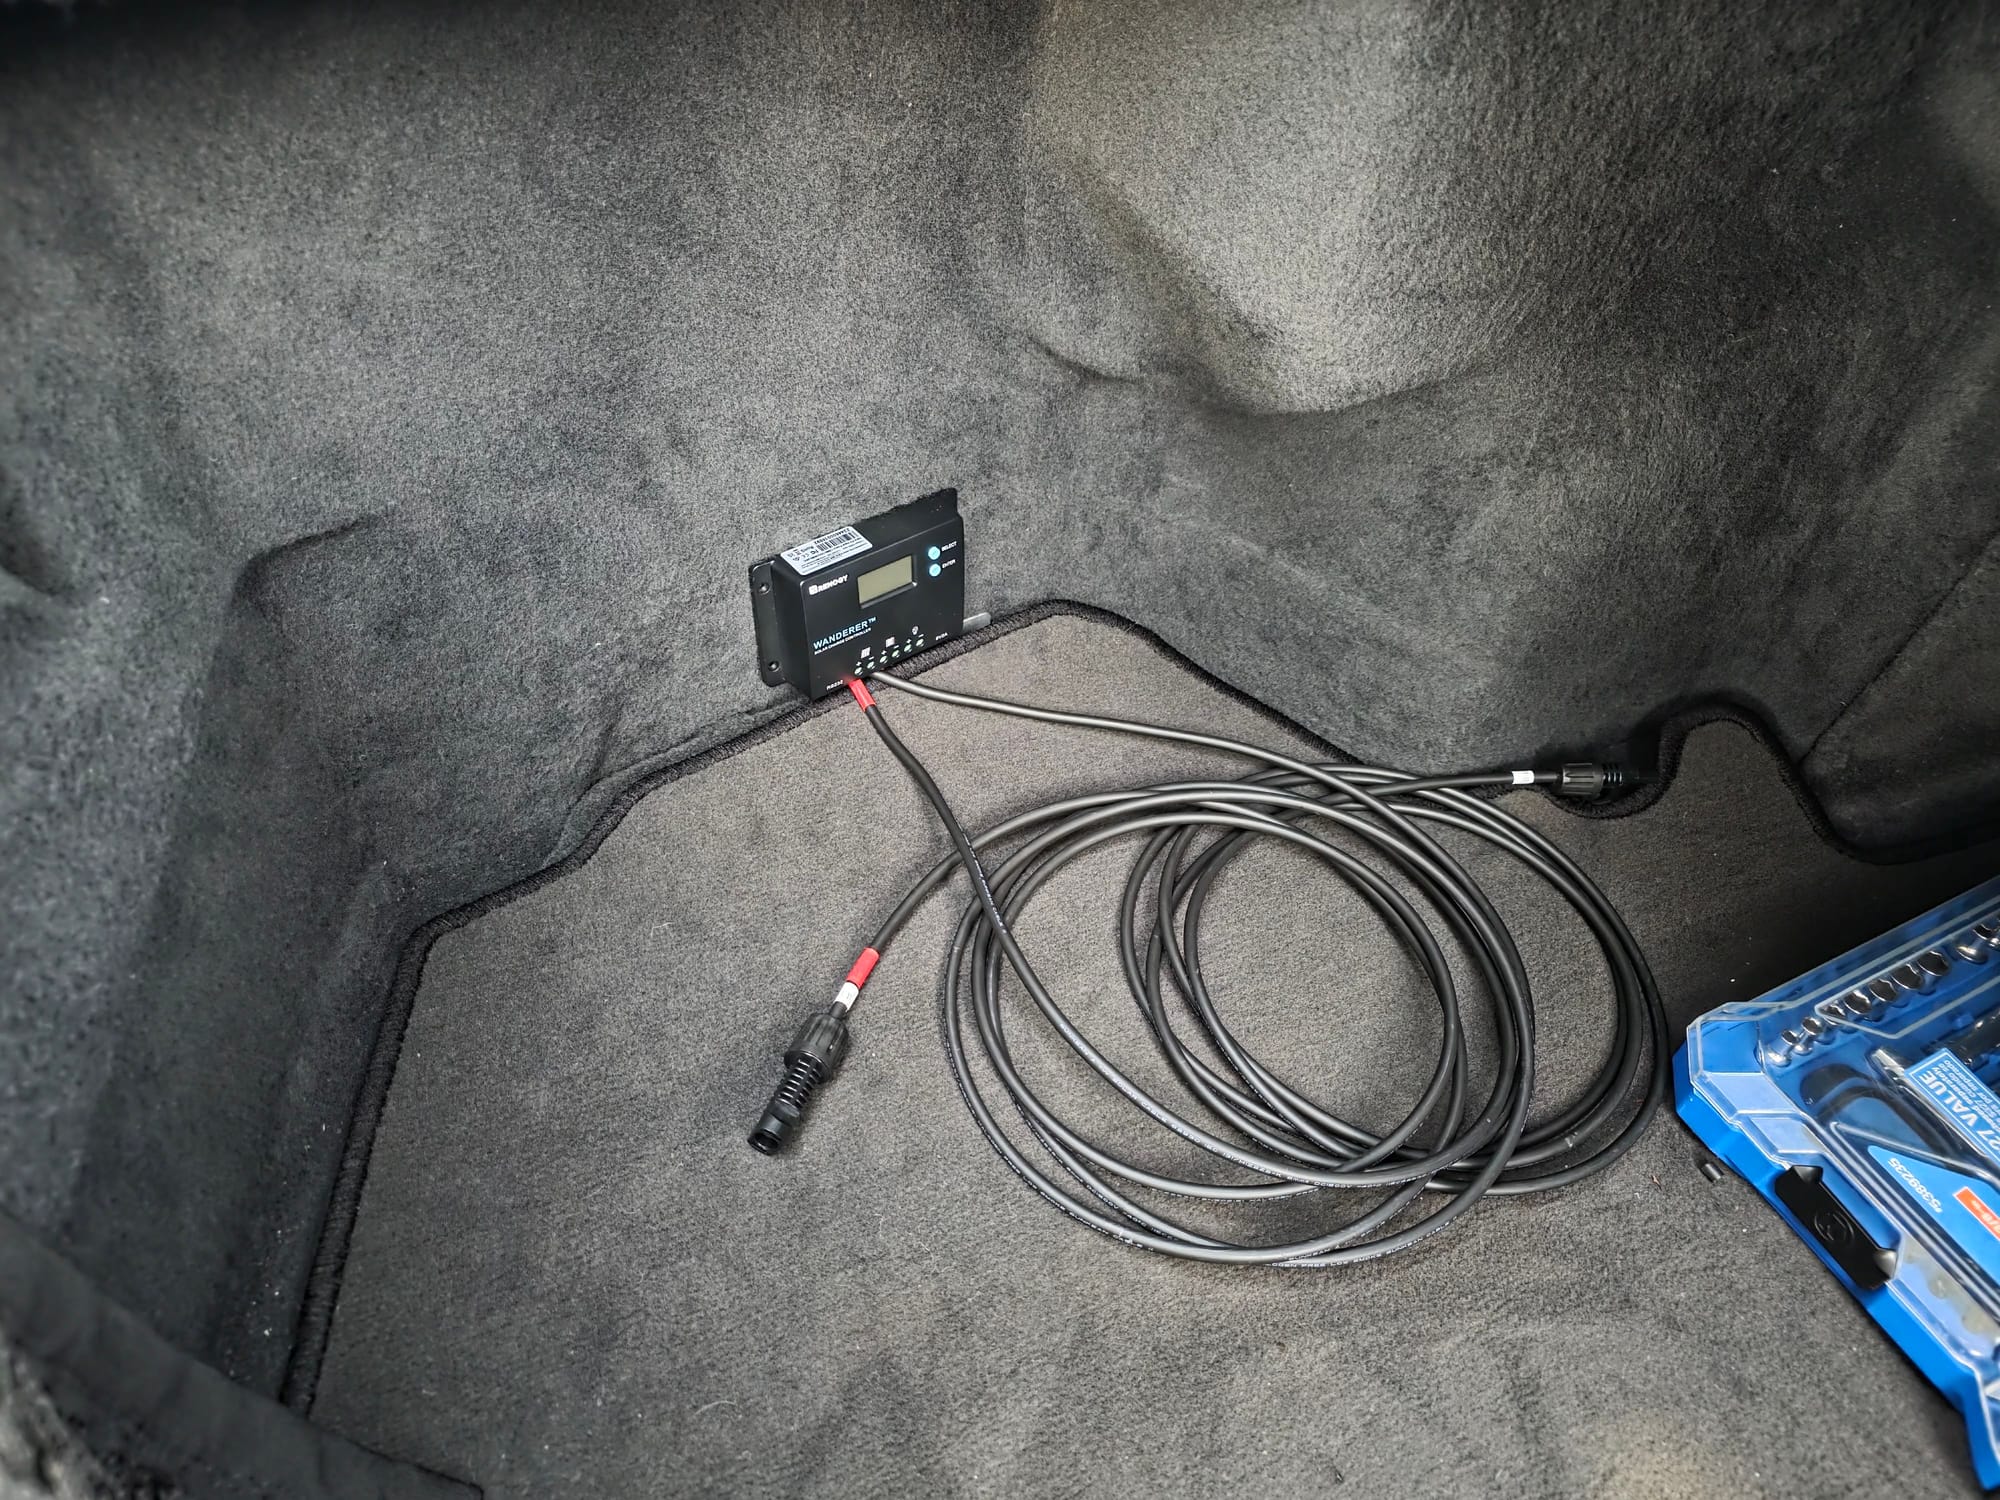
The newest addition is the 10 AMP solar charge controller that can charge the car while it is off with a deployable 100w solar panel, which can power thin and light laptops, tablets, or phones as long as the sun is out. The solar charge controller I'm using is PWM and not MPPT, which means it can only use ~60w of power from the panel due to PWM simply getting rid of any power above its target voltage. I might upgrade in the future if I find it to be an issue, but for now it is plenty.
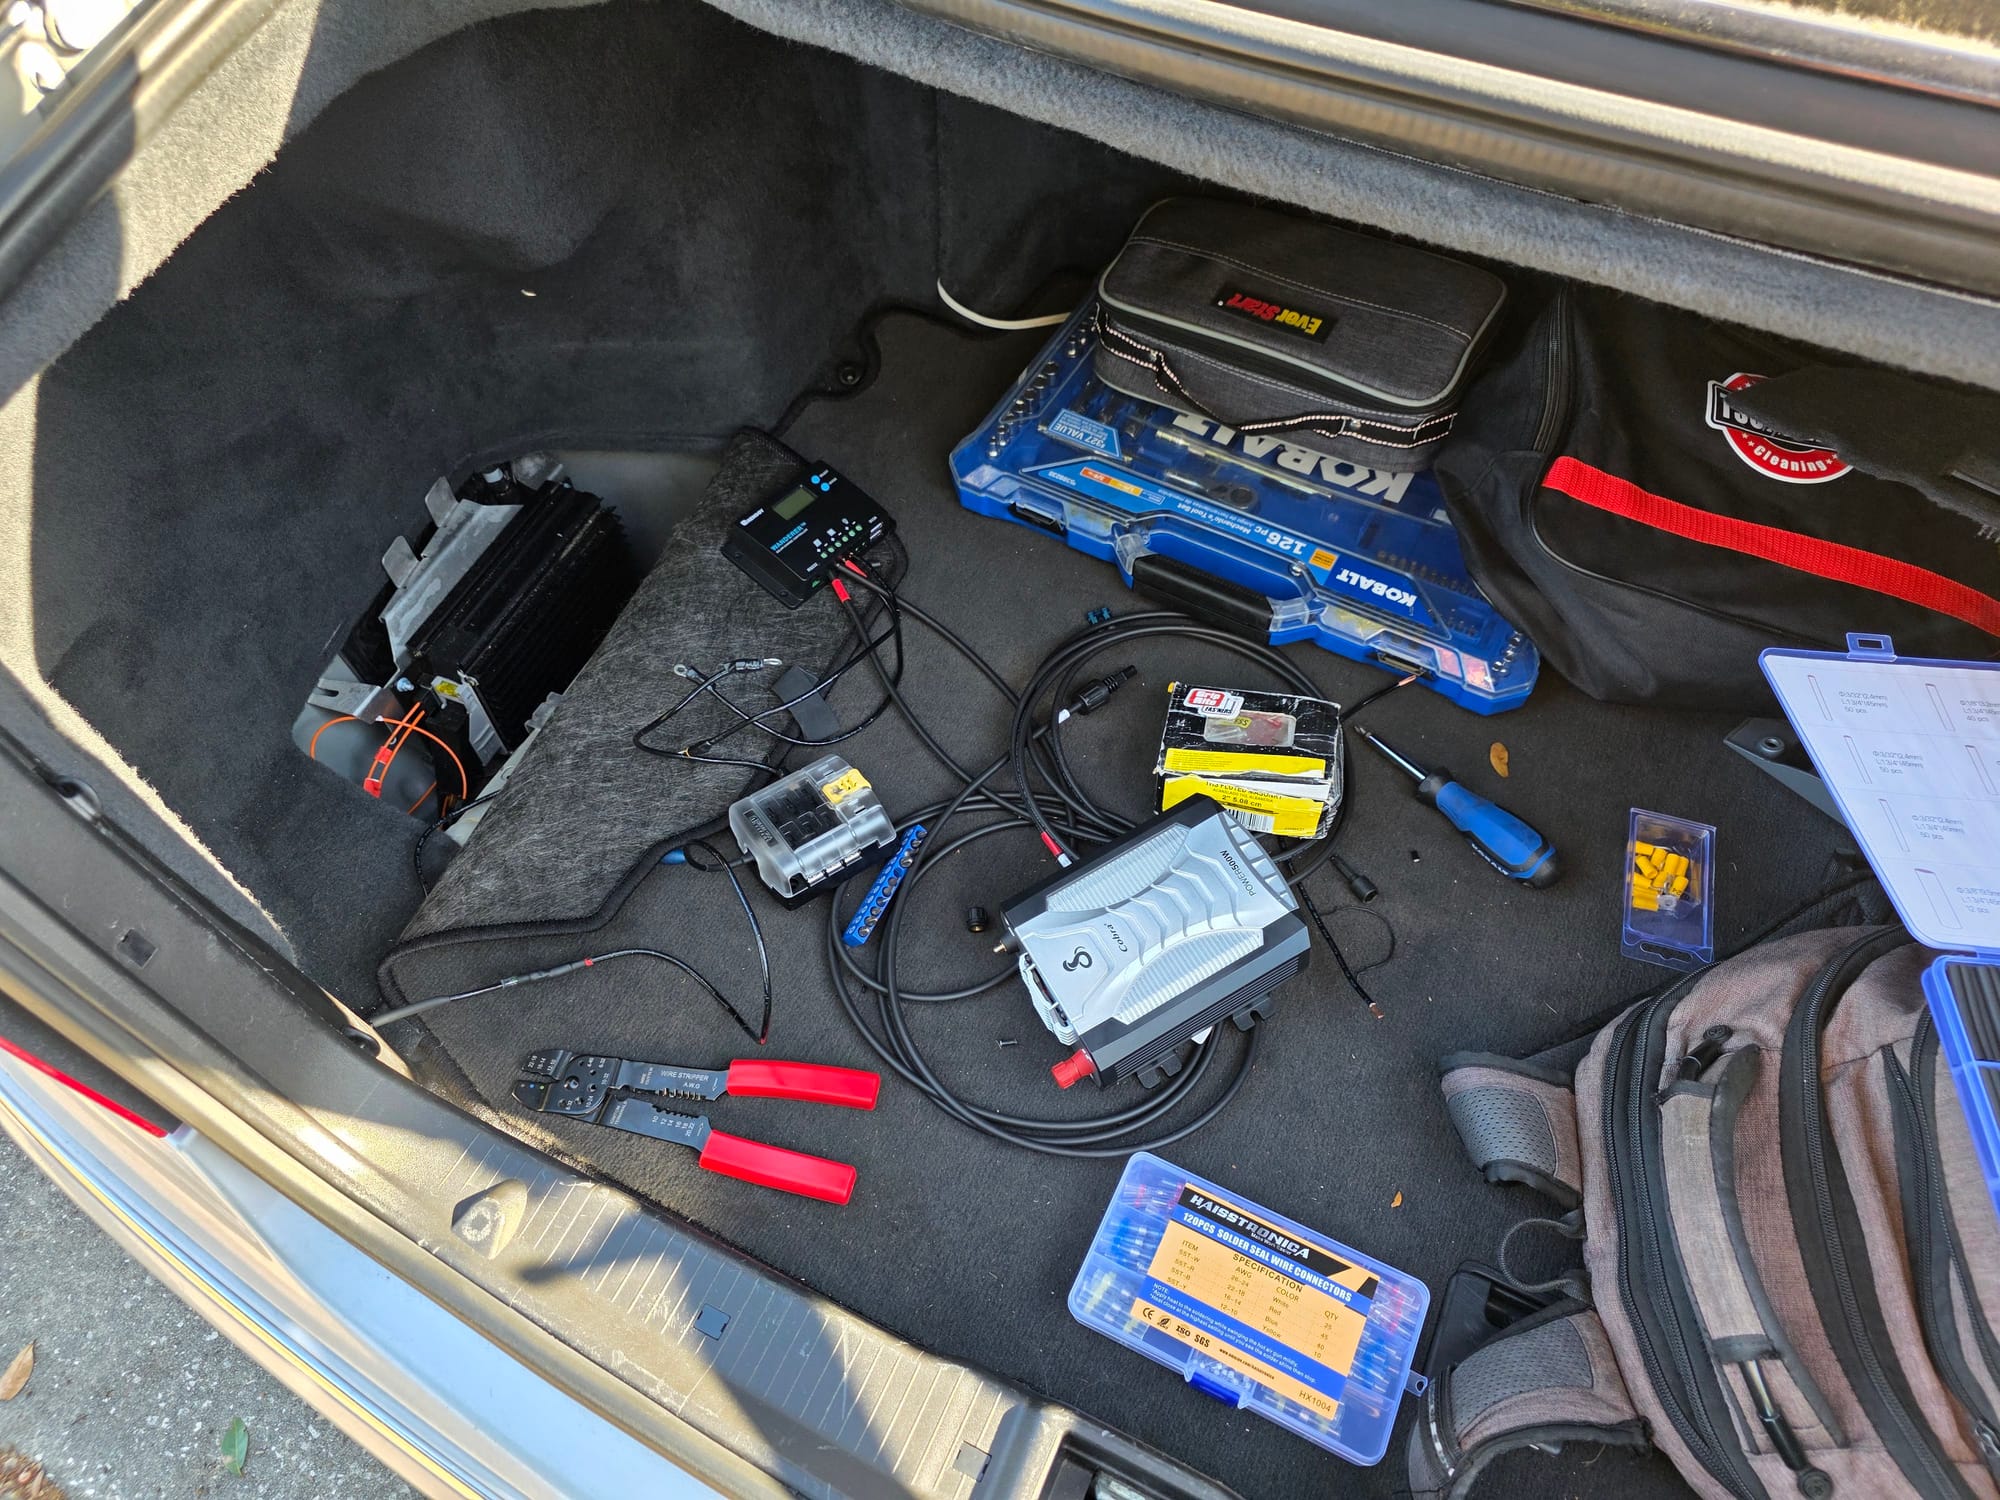
Now on to actually organizing and properly installing this tech into my car.
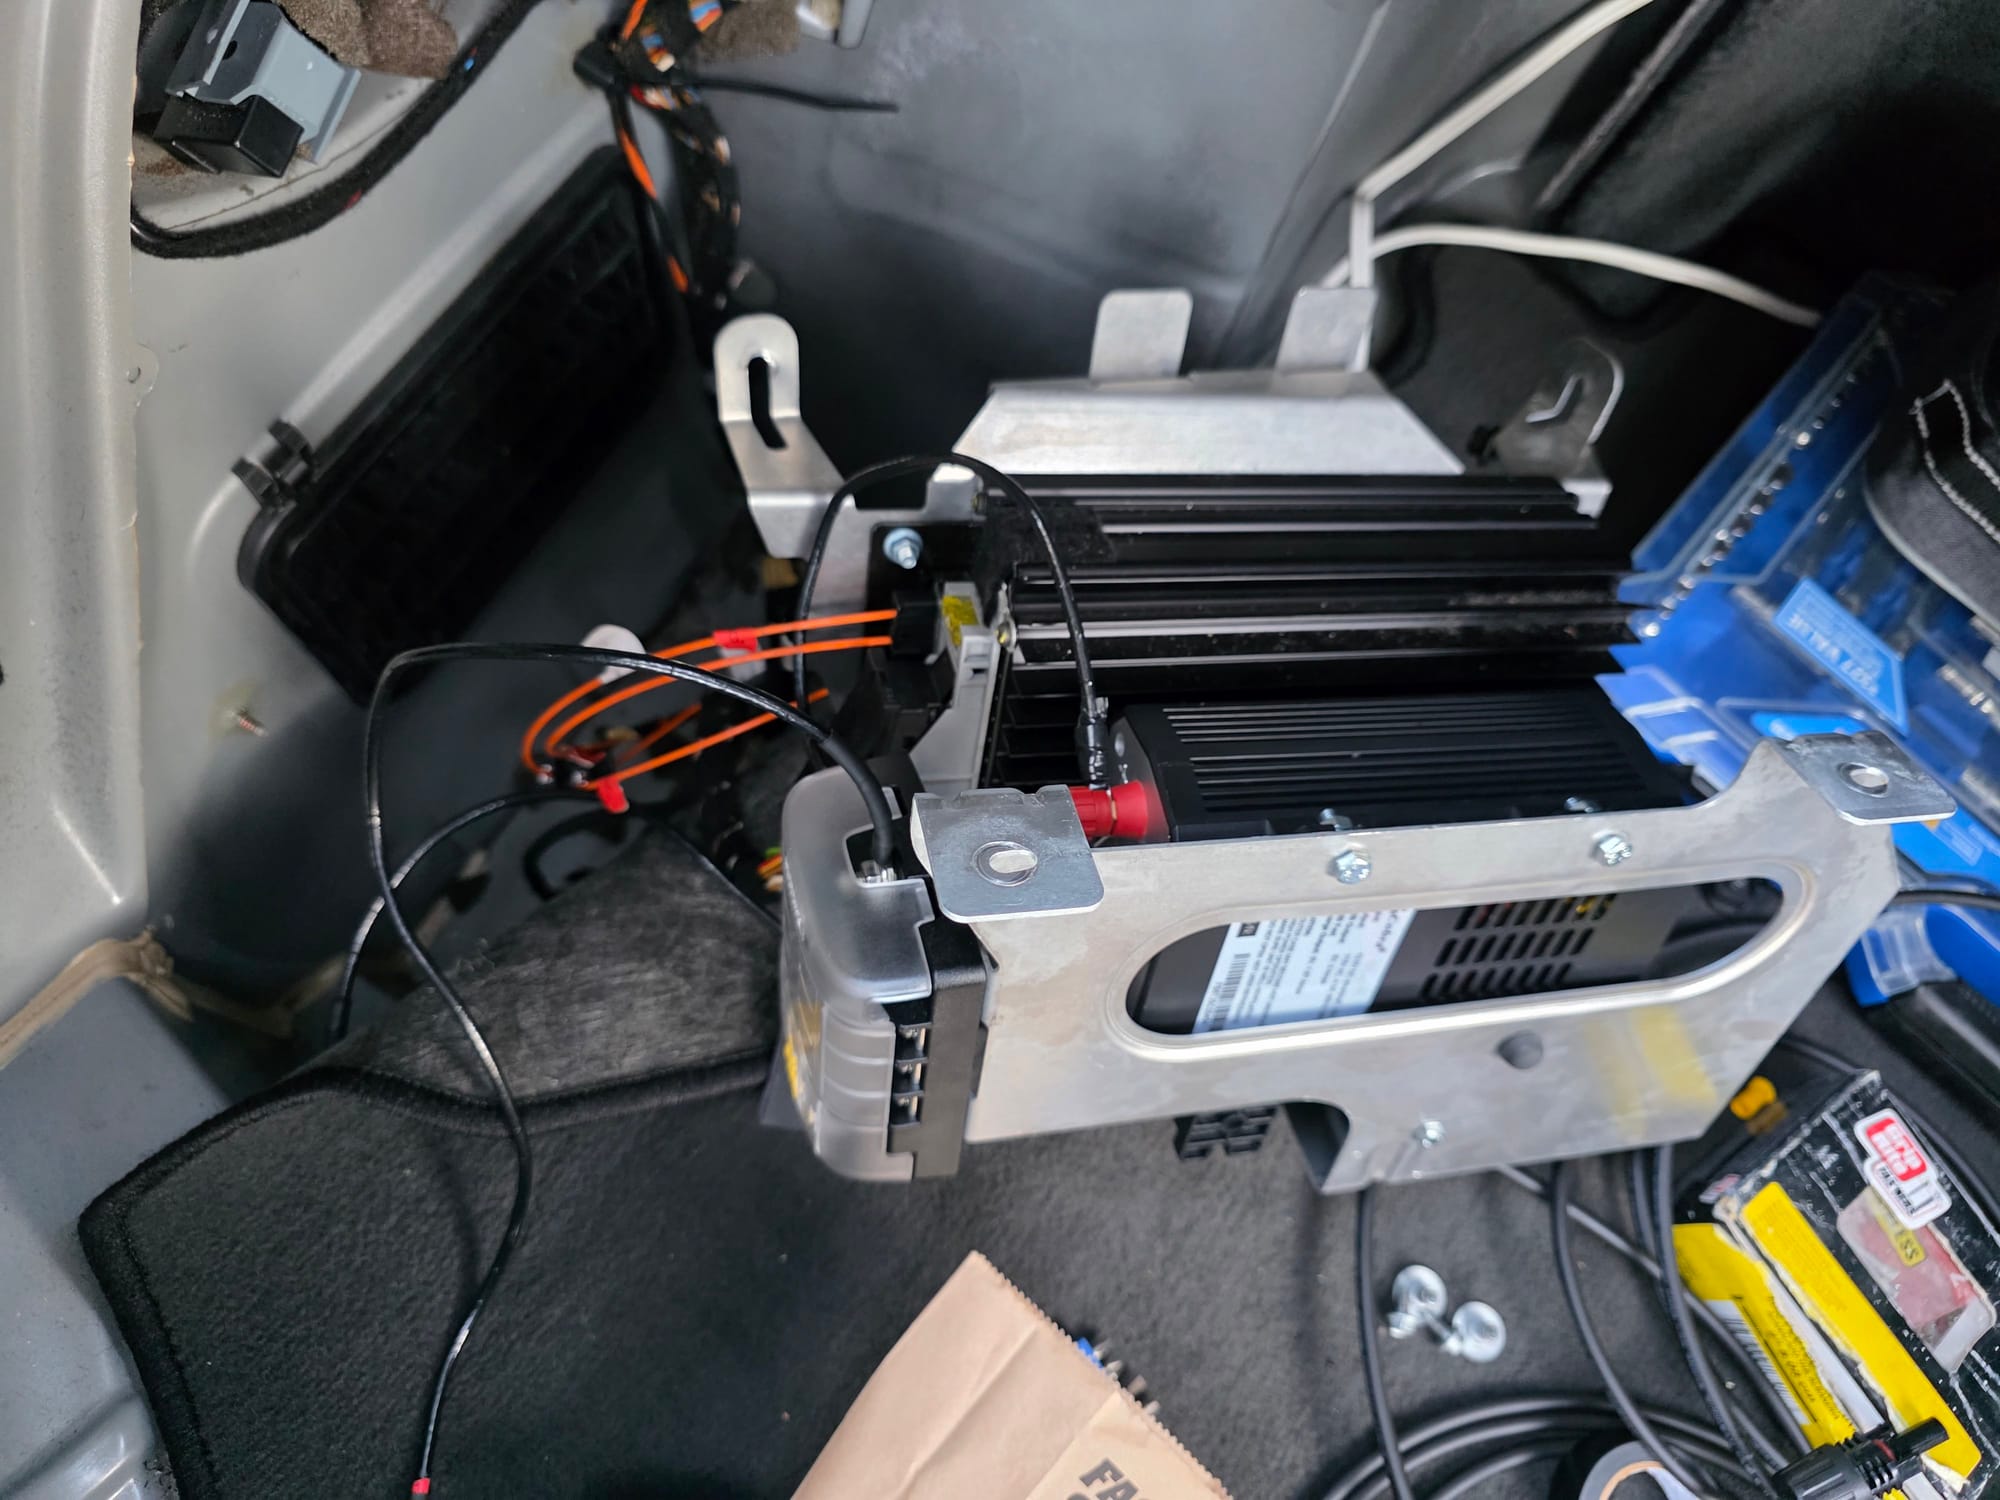
I made space in the trunk for my fuse panel and inverter by removing the CD changer from the car and using a fiber-optic coupler to keep the fiber loop unbroken.
To properly mount the inverter and fuse panel, I took out the combo bracket for both the CD changer and the Bose amplifier (making sure to be extra careful with the fiber-optic cabling connected to the amplifier). I then took it to Ace Hardware to find the right sized bolts and drilled holes into the metal bracket to mount the inverter, using an existing hole for the fuse panel.
From there it was just connecting everything back together and putting the trim back in. I decided that I am going to keep the solar charge controller against the wall in the main trunk area to make it easier to see the statistics and change any settings. Once I set up my ESP32 integration with the charge controller, which will allow me to monitor remotely, I will mount the charge controller in the bottom of the bracket.
For now, this is how it looks; a stark transformation from the first picture.
My next project will involve integrating all of this with a central ESP32 that will continuously perform monitoring and dynamic load shedding while running on battery power, which is essential because these electrical loads are running off of my main starter battery. Even though it is a massive 100AH AGM battery with 850CCA, any battery can die without proper power management.
The ESP32 will also feature in some other cool ideas. Stay tuned!